2022. 1. 14. 01:16ㆍ카테고리 없음
Zookeeper의 역할은 많겠지만 Broker와의 관계에서는 가장 큰 역할은 분산 메시 지큐의 정보를 관리해주는 역할을 합니다.
예제를 위하여서 노드는 3개의 노드를 설정합니다.
다운로드 및 폴더 설정
Zookeeper 설치는 Window10 기준이며 버전은 3.7.0입니다.
아래의 사이트에서 프로그램을 다운로드합니다.
https://zookeeper.apache.org/releases.html#download
Apache ZooKeeper
<!-- Licensed under the Apache License, Version 2.0 (the "License"); you may not use this file except in compliance with the License. You may obtain a copy of the License at http://www.apache.org/licenses/LICENSE-2.0 Unless required by applicable law or ag
zookeeper.apache.org
C:\zookeeper\zNode1, C:\zookeeper\zNode2, C:\zookeeper\zNode3 폴더를 만들어 줍니다.
폴더 생성 후 apache-zookeeper-3.7.0-bin 폴더 안의 모든 파일을 zNode1, zNode2, zNode3로 복사하여 줍니다.

우선 zNode1 기준으로 설정 파일을 수정한 후 zNode2, zNode3의 설정 파일도 수정하여 줍니다.
zNode1 설정
설정 파일 수정을 위해서 C:\zookeeper\zNode1\conf\zoo_sample.cfg 파일을 zoo.cfg 파일로 복사한 후 zoo_sample.cfg 파일은 zoo_sample.cfg.org로 변경합니다.
파일 변경 후 zoo.cfg 파일에서 dataDir 설정을 아래와 같이 변경하여 줍니다.
# The number of milliseconds of each tick
tickTime=2000
# The number of ticks that the initial
# synchronization phase can take
initLimit=10
# The number of ticks that can pass between
# sending a request and getting an acknowledgement
syncLimit=5
# the directory where the snapshot is stored.
# do not use /tmp for storage, /tmp here is just
# example sakes.
dataDir=C:/zookeeper/zNode1/data
# the port at which the clients will connect
clientPort=2181
# the maximum number of client connections.
# increase this if you need to handle more clients
#maxClientCnxns=60
#
# Be sure to read the maintenance section of the
# administrator guide before turning on autopurge.
#
# http://zookeeper.apache.org/doc/current/zookeeperAdmin.html#sc_maintenance
#
# The number of snapshots to retain in dataDir
#autopurge.snapRetainCount=3
# Purge task interval in hours
# Set to "0" to disable auto purge feature
#autopurge.purgeInterval=1

## Metrics Providers
#
# https://prometheus.io Metrics Exporter
#metricsProvider.className=org.apache.zookeeper.metrics.prometheus.PrometheusMetricsProvider
#metricsProvider.httpPort=7000
#metricsProvider.exportJvmInfo=true
아래와 같이 명령어로 zNode1을 실행하여서 정상 작동하는지 확인하여 줍니다.

정상적으로 구동된 것이 확인되었다면 멀티 노드 설정을 위해서 zoo.cfg 에 설정을 추가하여 줍니다.
# The number of milliseconds of each tick
tickTime=2000
# The number of ticks that the initial
# synchronization phase can take
initLimit=10
# The number of ticks that can pass between
# sending a request and getting an acknowledgement
syncLimit=5
# the directory where the snapshot is stored.
# do not use /tmp for storage, /tmp here is just
# example sakes.
dataDir=C:/zookeeper/zNode1/data
# the port at which the clients will connect
clientPort=2181
# the maximum number of client connections.
# increase this if you need to handle more clients
#maxClientCnxns=60
#
# Be sure to read the maintenance section of the
# administrator guide before turning on autopurge.
#
# http://zookeeper.apache.org/doc/current/zookeeperAdmin.html#sc_maintenance
#
# The number of snapshots to retain in dataDir
#autopurge.snapRetainCount=3
# Purge task interval in hours
# Set to "0" to disable auto purge feature
#autopurge.purgeInterval=1

## Metrics Providers
#
# https://prometheus.io Metrics Exporter
#metricsProvider.className=org.apache.zookeeper.metrics.prometheus.PrometheusMetricsProvider
#metricsProvider.httpPort=7000
#metricsProvider.exportJvmInfo=true

server.1=localhost:2788:3788
server.2=localhost:2888:3888
server.3=localhost:2988:3988
멀티 노드 설정을 위해서 위의 옵션에서 #멀티노드설정이라는 주석 부분 아래에 서버 정보를 설정하였습니다.
포트가 port1:port2 설정이 되어 있는데 port1는 팔로워 노드를 리더 노드로 연결하기 위한 포트 port2는 리더 선출을 위한 포트입니다.
다음으로는 zookeeper Id 설정을 위해서 C:\zookeeper\zNode1\data 폴더에 myId 파일 생성 후 파일을 연후 1이라고 작성한 후 저장하여 줍니다.
1이라는 숫자는 zNode1의 id가 될 것입니다.
위의 설정 정보의 server.1에서 1이 myId에 설정 한 id를 의미합니다.
추가 옵션 설정 후 서버를 재실행합니다.

위의 그림과 같이 zNode1을 실행하면 오류가 발생하는데 원인은 설정 파일에 노드 3개에 대한 설정을 해 두었기 때문에 나머지 zNode2, zNode3 도 실행이 되어야 하기 때문입니다.
그럼 나머지 노드에 대한 설정을 하도록 하겠습니다.
zNode2 설정
zNode1와 마찬가지로 C:\zookeeper\zNode2\conf\zoo_sample.cfg 파일을 zoo.cfg 파일로 복사한 후 zoo_sample.cfg 파일은 zoo_sample.cfg.org로 변경합니다.
zoo.cfg 파일에서 dataDir, clientPort 정보 변경과 서버 정보를 추가하여 줍니다.
# The number of milliseconds of each tick
tickTime=2000
# The number of ticks that the initial
# synchronization phase can take
initLimit=10
# The number of ticks that can pass between
# sending a request and getting an acknowledgement
syncLimit=5
# the directory where the snapshot is stored.
# do not use /tmp for storage, /tmp here is just
# example sakes.
dataDir=C:/zookeeper/zNode2/data
# the port at which the clients will connect
clientPort=2182
# the maximum number of client connections.
# increase this if you need to handle more clients
#maxClientCnxns=60
#
# Be sure to read the maintenance section of the
# administrator guide before turning on autopurge.
#
# http://zookeeper.apache.org/doc/current/zookeeperAdmin.html#sc_maintenance
#
# The number of snapshots to retain in dataDir
#autopurge.snapRetainCount=3
# Purge task interval in hours
# Set to "0" to disable auto purge feature
#autopurge.purgeInterval=1

## Metrics Providers
#
# https://prometheus.io Metrics Exporter
#metricsProvider.className=org.apache.zookeeper.metrics.prometheus.PrometheusMetricsProvider
#metricsProvider.httpPort=7000
#metricsProvider.exportJvmInfo=true

server.1=localhost:2788:3788
server.2=localhost:2888:3888
server.3=localhost:2988:3988
다음으로는 zookeeper Id 설정을 위해서 C:\zookeeper\zNode2\data 폴더에 myId 파일 생성 후 파일을 연후 2라고 작성한 후 저장하여 줍니다.
zNode3 설정
zNode2와 마찬가지로 C:\zookeeper\zNode2\conf\zoo_sample.cfg 파일을 zoo.cfg 파일로 복사한 후 zoo_sample.cfg 파일은 zoo_sample.cfg.org로 변경합니다.
zoo.cfg 파일에서 dataDir, clientPort 정보 변경과 서버 정보를 추가하여 줍니다.
# The number of milliseconds of each tick
tickTime=2000
# The number of ticks that the initial
# synchronization phase can take
initLimit=10
# The number of ticks that can pass between
# sending a request and getting an acknowledgement
syncLimit=5
# the directory where the snapshot is stored.
# do not use /tmp for storage, /tmp here is just
# example sakes.
dataDir=C:/zookeeper/zNode3/data
# the port at which the clients will connect
clientPort=2183
# the maximum number of client connections.
# increase this if you need to handle more clients
#maxClientCnxns=60
#
# Be sure to read the maintenance section of the
# administrator guide before turning on autopurge.
#
# http://zookeeper.apache.org/doc/current/zookeeperAdmin.html#sc_maintenance
#
# The number of snapshots to retain in dataDir
#autopurge.snapRetainCount=3
# Purge task interval in hours
# Set to "0" to disable auto purge feature
#autopurge.purgeInterval=1

## Metrics Providers
#
# https://prometheus.io Metrics Exporter
#metricsProvider.className=org.apache.zookeeper.metrics.prometheus.PrometheusMetricsProvider
#metricsProvider.httpPort=7000
#metricsProvider.exportJvmInfo=true

server.1=localhost:2788:3788
server.2=localhost:2888:3888
server.3=localhost:2988:3988
다음으로는 zookeeper Id 설정을 위해서 C:\zookeeper\zNode2\data 폴더에 myId 파일 생성 후 파일을 연후 3이라고 작성한 후 저장하여 줍니다.
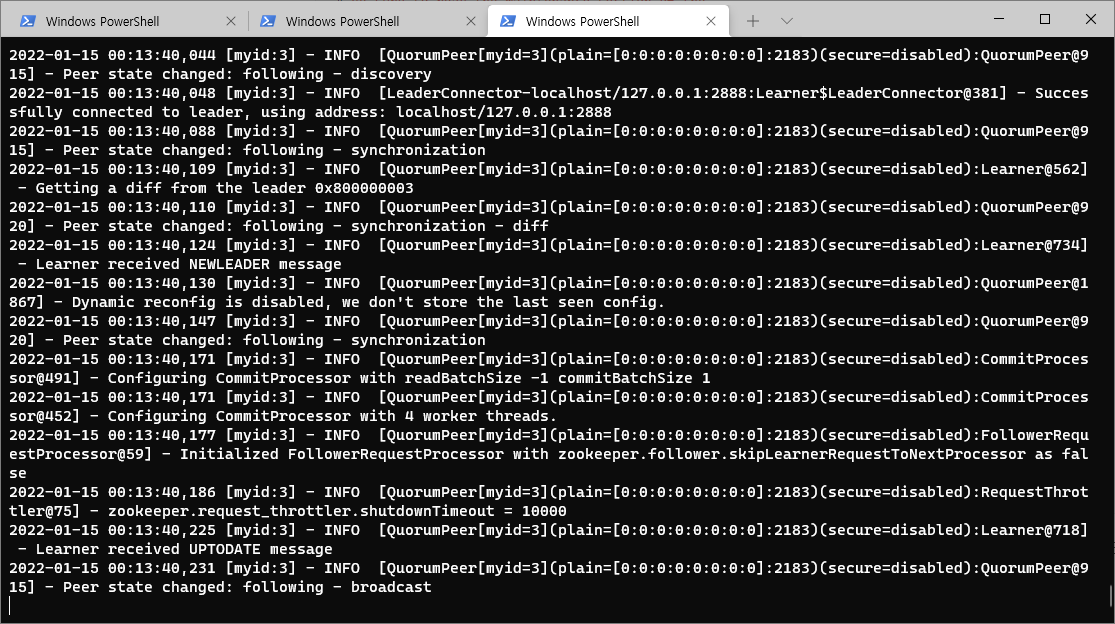
노드 실행
zNode1 실행
PS C:\zookeeper\zNode1\> .\bin\zkServer.cmd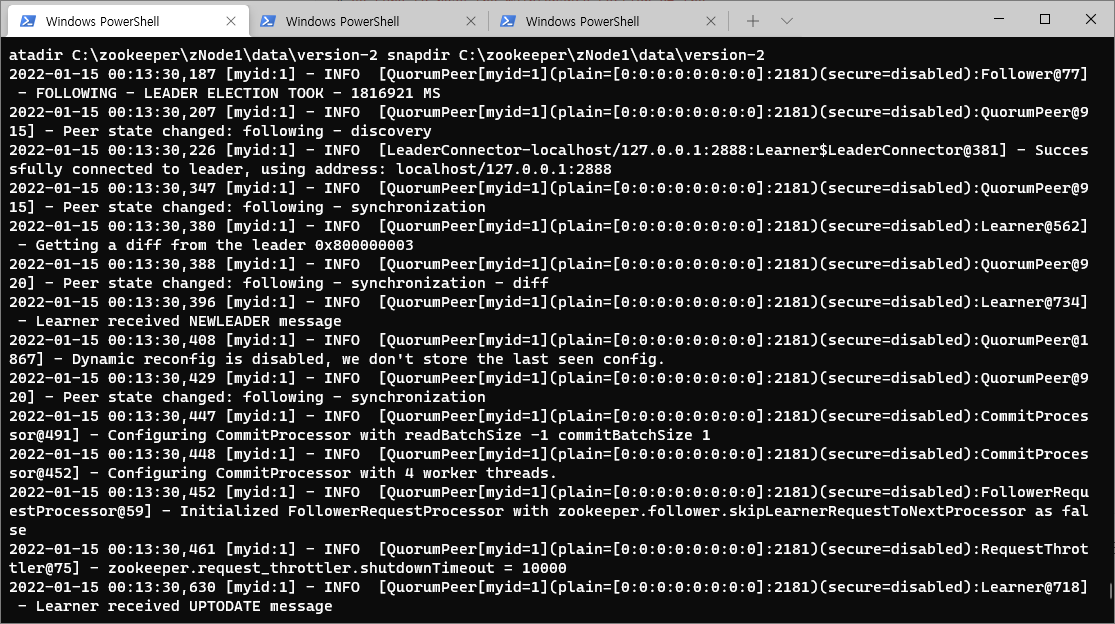
zNode2 실행
PS C:\zookeeper\zNode2\> .\bin\zkServer.cmd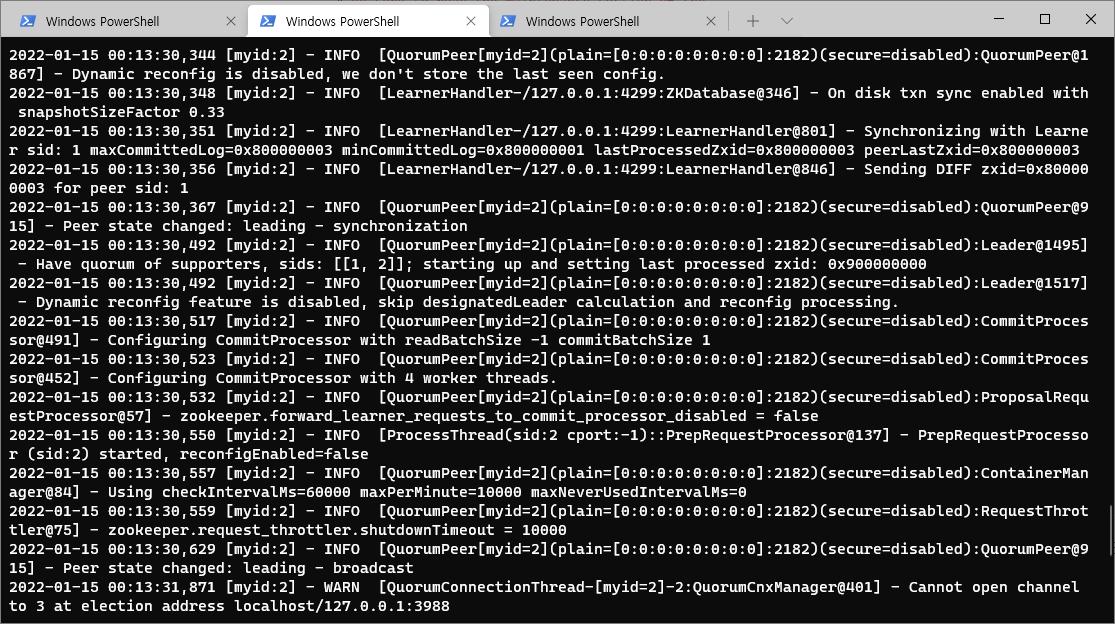
zNode3 실행
PS C:\zookeeper\zNode3\> .\bin\zkServer.cmd